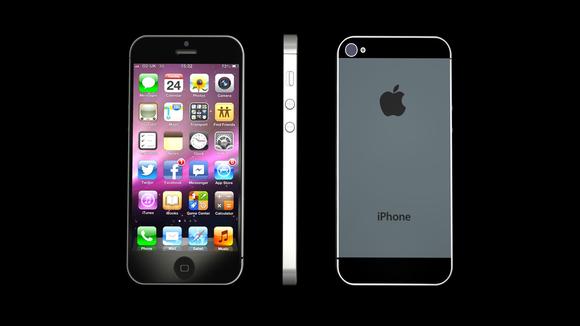
Apple users are well aware of the benefits that they get in owning an iPhone iPod and iPad. All these devices are fully capable of capturing good pictures. The picture quality is so good that it can easily replace a digital camera, as these devices are portable as well as easy to use.
Additionally the Camera app facilitates in capturing good shots. However to utilize it to your benefit you need to know the tips to apply for capturing better pictures and easy access to the camera functions. Let us discover 5 easy camera tips for iOS users.
Frame your subject
 The most essential tip that you need to keep in mind while aiming your camera lens is the angle of the person who you are about to shoot. Follow the rule of thirds when capturing picture. For those who are shooting with other devices need to imagine a grid as for iOS users things are a bit easy. Camera App> Options>Grid Feature.
This will reveal the grid on the viewfinder to allow you to apply the rule of thirds. Now position your camera to the person but a bit away from the center. If you are shooting, a video then shoot from top or bottom right or left and you will be able to capture a better shot.
Adjusting Exposure and Focus
The focus and exposure are two essential components of a camera. Focus enables in sharpening a part of image while exposure is about the brightness of an image. Camera app in your iOS device is capable of automatically adjusting the focus and exposure. However, it is not always as accurate as you might want it to be. You can manually adjust the exposure and focus in your app. For setting exposure, tap once on your image.
If you want to capture a part of a picture like capturing a macro picture where the background is blurred out then it is easy to do so with your iPhone. All you need to do is focus away from brighter area; you can also lock the exposure or focus wherever you want. Tap and hold on the point where you want to apply the effects until a blue focus box is revealed and starts pulsating. Now release it, you will find AE/AF appear below the app. Similarly, if you want to focus somewhere else on y our picture then apply the same steps.
Additionally, if you want to view your recently captured images then swipe right or tap on the square shaped thumbnail on the lower left corner.
Using Flash
The purpose of a flash is to capture bright picture in uncomfortable light conditions or in dim light conditions. However, in an attempt to capture brighter image often you end up capturing resulting red-eye effect picture or blinding the person with the flash resulting in closed eyes. Therefore, it is advisable to capture from a distance not more than 6 feet away and capture image in close quarters for better results. Additionally, you can enable the LED flash light by a gentle tap on the Lightning bolt like icon.
Enable HDR
HDR or High Dynamic Range is yet another feature that is included in your rear-facing camera. Enable it by tap Options> toggle to HDR on to turn it on. HDR is a light spectrum that is similar to a sensor with enhanced ability to capture multiple light levels. You will be easily able to capture wide spectrum of lights. For example capturing a person against sunrise will help you capture the person and the color spectrum of the morning sky at the background. You have the freedom to choose and set three different modes in HDR the overexposed, underexposed and the middle.
Panorama
The iPhone 5 is equipped with the feature of panorama that helps in capturing panoramic view of anything. This comes handy in capturing seamless scenic view pictures. Go to the Camera app>Options>Panorama and you are ready to capture. The arrow indication to the right serves as a pointer to move towards right to capture a big shot. However, if you want to change directions then you can do so by tapping on the arrow and change it towards left pointer. If you are keen on panorama shooting a cascade then you just need to sweep upward.
Quick Tips
- It is easy to shoot or capture pictures with the easy to access camera icon that sits at the bottom of the screen you can alternatively use the volume rocker button.
- Switching between your dual cameras is easy with camera icon that depicts arrows around it.
- For shooting photos and videos, tap the slider for photos/videos located at the right hand side bottom of the screen.
Karen McPherson has been offering online tech support to global customers for issues related to laptops, desktops, Mac and devices including iPods, tablets, iPhones, computer support and more. She caters to the segment of core technology and provides viable solutions to any issues related to technology and software. Her expertise and skills in handling key technology issues is immaculate and quick result bearing. Through her articles and postings she aims to provide knowledge and solutions to common technology issues that a user faces.


